| Climate Research Lab | |
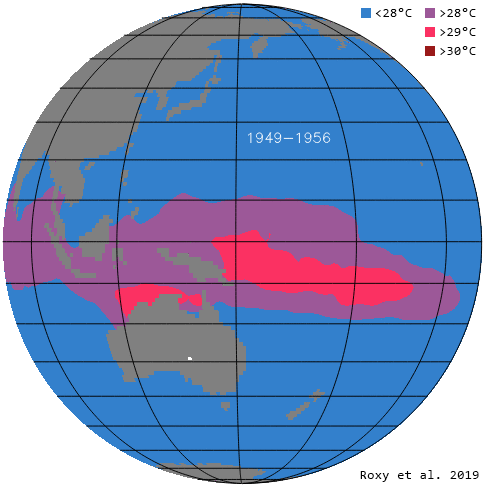 Roxy Mathew Koll @ the Climate Research Lab leads the IPCC Reports and scientific research and observations in the Indian Ocean and rim countries. [Read More] Roxy Mathew Koll @ the Climate Research Lab leads the IPCC Reports and scientific research and observations in the Indian Ocean and rim countries. [Read More] |
| Sarah’s Hand Embroidery Tutorials | |
 | |
| Sarah’s Hand Embroidery Tutorials—is the ultimate stitch guide to embroidery, whatever your level of expertise is. [Read More] |
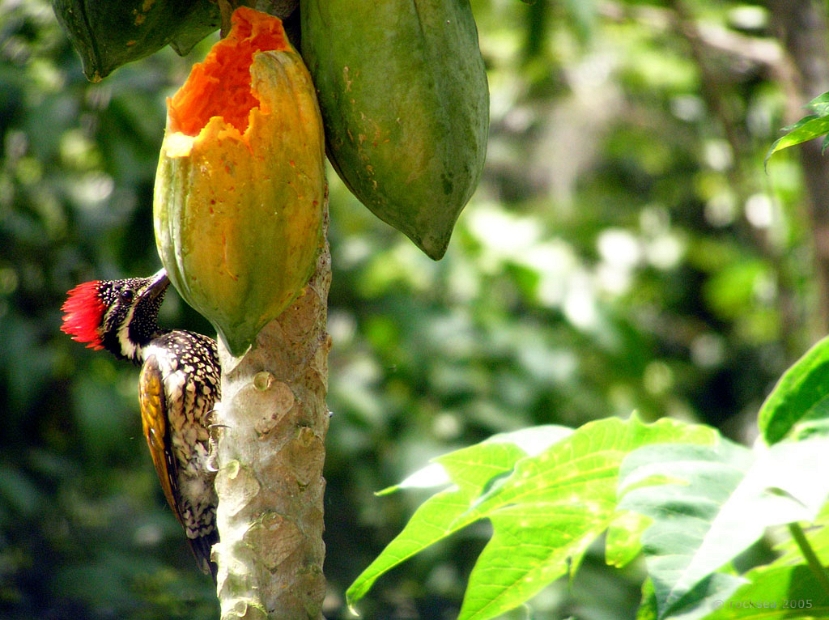
| Prakriti and Photography | |
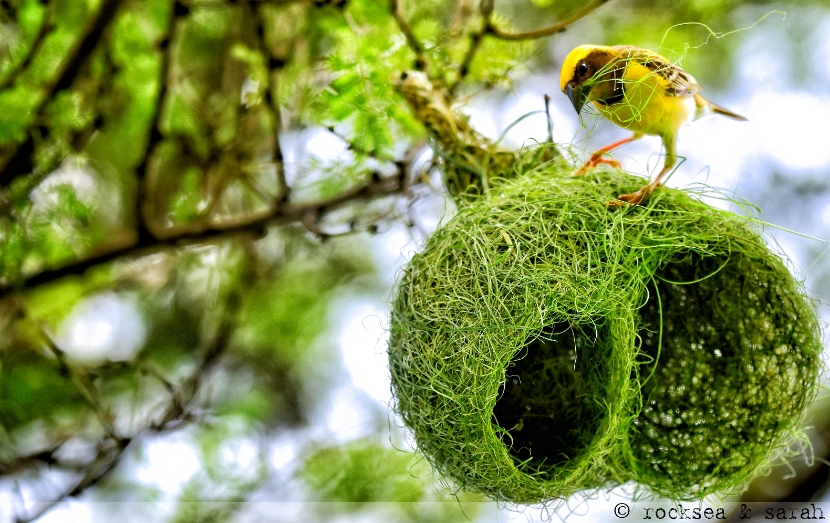 | |
| Photographic accounts of Nature, mostly birds and bugs. [Read More] |
| പഴയ മലയാളം ബൂലോഗം | |
 | |
| 15 year old Malayalam blog. [Read More] |